
Don’t Lose the Nail: Tips for processing, sectioning, and staining challenging nail specimens.
You’ve got the section. It looks perfect. Then somewhere between deparaffinization and staining, it’s gone.
If you’ve worked with nail specimens, you know the frustration. Nail sections can look great coming off the water bath, only to lift, wrinkle, or completely disappear during staining. Or maybe the struggle begins at sectioning, with the nail popping out of the block or too hard to cut through and damaging the blade.
Nail sections are not like routine tissues. They are composed primarily of dense keratin, making them tough to process, cut, and keep adhered to the slide. This creates challenges at every step of the workflow. Here are some tips, tricks, and best practices for each step of the workflow.
Grossing and Processing
- Section nails to appropriate size for processing, ideally 3-4 mm for adequate processing.
- Ensure adequate fixation before processing.
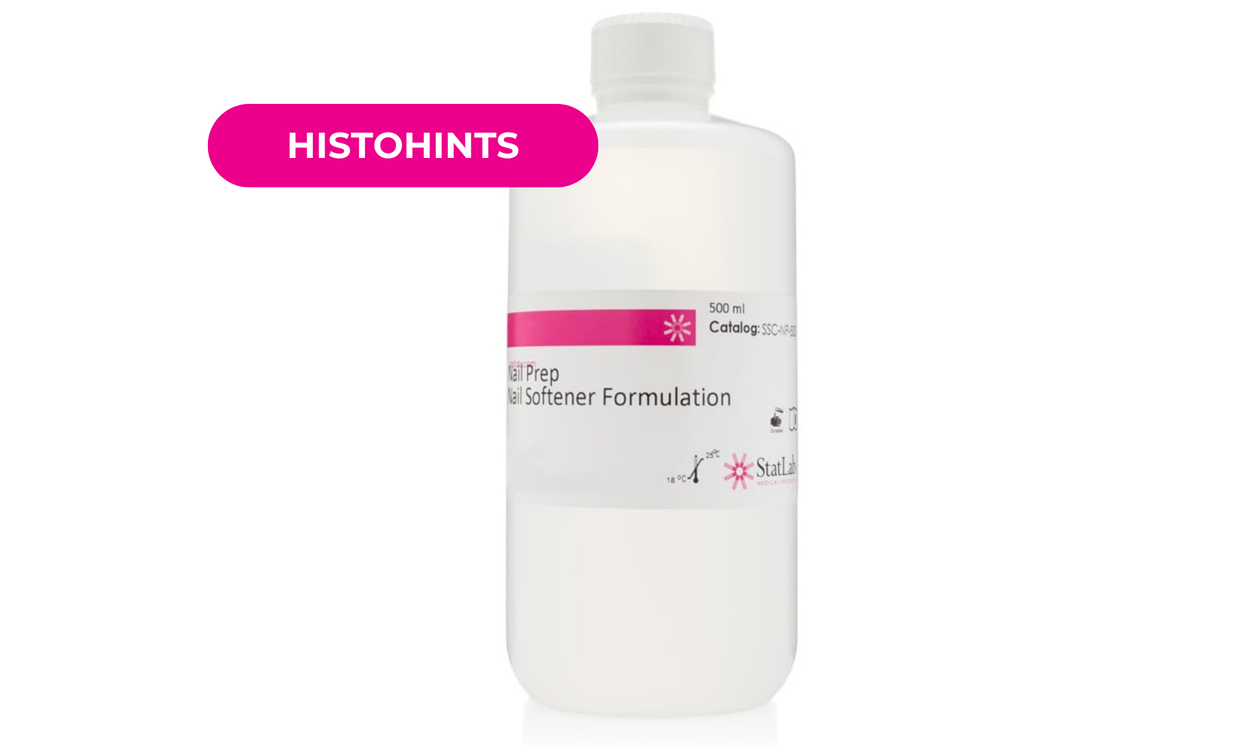
- If you consistently experience issues with nails, try a pretreatment, like Nail Prep that includes potassium hydroxide, between fixation and processing to soften brittle nail clippings, make them easier to process and cut, and help to keep tissue from washing off the slide. Be sure to monitor the pretreatment time carefully, as prolonged exposure can over-soften and begin to dissolve the nail.
- Validate processing schedules for nails to ensure complete dehydration and adequate clearing and infiltration.
Embedding
- Embed nail specimen at a 45˚ angle to the blade. This will help to prevent nails from popping out of the block during microtomy.
- Ensure adequate paraffin support around the specimen.
Microtomy
- Face the block carefully to expose the full surface of the nail.
- If the nail needs to be softened to cut, there are several ways to do this:
- Submerge the face of the block in your water bath for several seconds.
- Submerge the block face in a nail softening solution for 5-10 minutes.
- Some labs will use a decal solution as a last resort; however the benefit is minimal. Because nails are composed of keratin rather than calcium, decal solutions are not designed to soften the nail plate.
- Apply a small amount of Nair to the exposed nail face for 15-20 minutes.
- Rinse completely with DI water and chill on ice bath.
- Cut at 3-5 microns using a durable blade for nail.
- Float ribbon on water bath to flatten the tissue.
- If the block is still brittle, float block in water bath for a few seconds to rehydrate the tissue, then chill.
- Pick up nail section on an adhesion slide like KT5+. Make sure slides are from a freshly opened box.
Slide Adhesion
- Ensure there is no water trapped under the tissue. If there is, try one of these tricks to release the trapped water:
- Tap bottom of slide gently on table or edge of water bath.
- Use the tip of forceps to gently “pop” the water bubble to allow trapped water to drain.
- Dab with a StatSwipes lab wipe or other wipe or paper towel.
- Place slide in a slide drying oven at a constant temperature of 60-65° C for the most uniform drying for 30-60 minutes. Increase drying time for added adhesion instead of increasing the temperature.
Staining
- Ensure slides are completely dry before staining.
- Avoid prolonged soaking in water before staining.
- Minimize rinses in running water.
- Handle slides gently during manual staining to avoid tissue lifting.
- If tissue lifting is a recurring issue, reevaluate the entire workflow, not just the staining protocol.
When it comes to nail specimens, success doesn’t start at staining––it starts at grossing. Optimizing each step of the histology workflow helps improve section quality, reduce tissue loss, and produce consistently reliable slides.
Recent Posts
-
StatClick Prefill Handling and Closure
How to properly handle and close the StatClick Prefill for leak-proof transport. Follow your facili
-
Silver stains start here: clean glassware.
We’ve all had that glassware that looks clean—but silver stains can tell a different story. Tiny tra
-
Color Matters: 10 tips for getting the most from Tissue Marking Dyes.
Tissue Marking Dyes may seem like a simple part of the grossing workflow, but small handling habits