
Color Matters: 10 tips for getting the most from Tissue Marking Dyes.
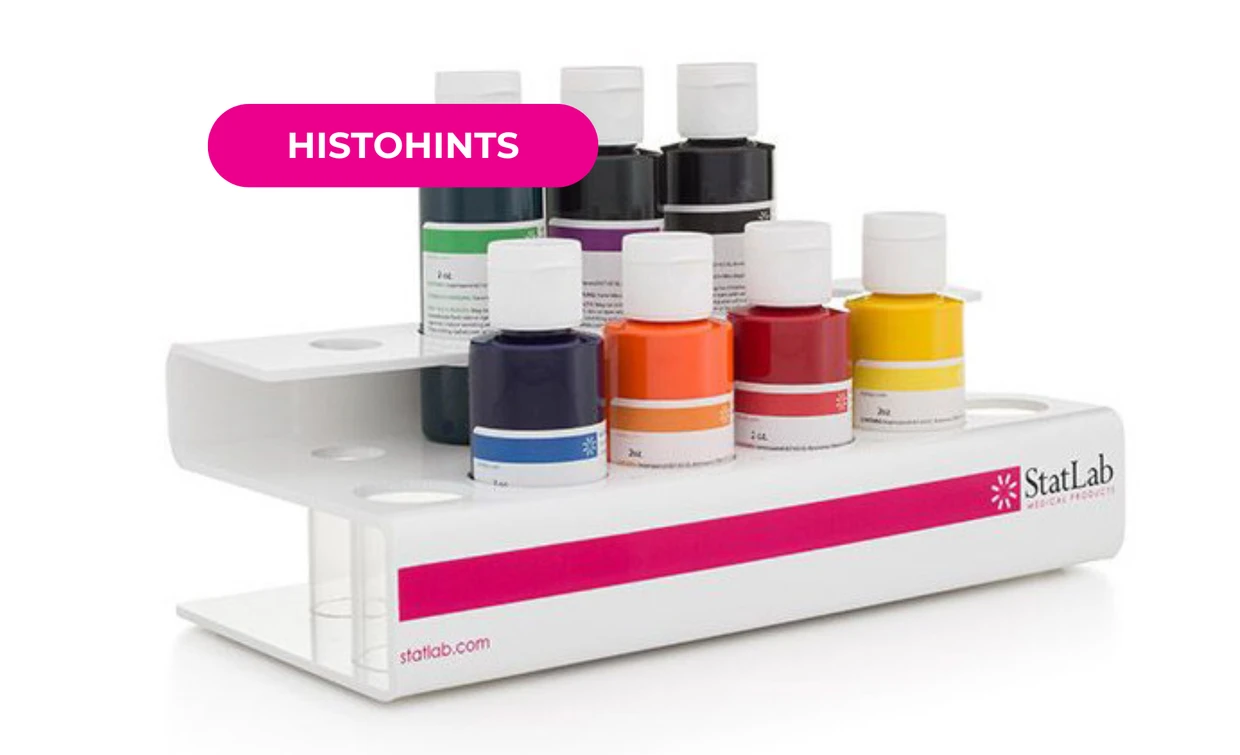
Tissue Marking Dyes may seem like a simple part of the grossing workflow, but small handling habits can make a big difference in consistent color, coverage, and performance. From storage and shaking to application and cleanup, check out these tips to help you get the most from your tissue marking dyes.
- Shake it.
It is common practice to keep tissue marking dye bottles at the grossing station and use throughout the day (or night). However, pigments can settle when dyes are not in use. Give each bottle a thorough shake before use to help ensure consistent color and coverage.
- Cap it.
Don’t leave the bottle open on the grossing bench for extended periods of time to prevent pigment from drying out. Keeping the container closed helps minimize evaporation, contamination, and changes to the dye.
- Store it.
Follow the product’s recommended storage conditions and keep an eye on expiration dates. Proper storage helps maintain the dye’s consistency and performance over time.
- Don’t alter it.
Use the dye as supplied. Do not dilute or add anything to thin it out. Altering the formulation can affect its performance and consistency.
- Prep it.
Start with a properly prepared tissue surface. Blot tissue with a paper towel or lab wipe to clear away any liquid. Excess moisture, blood, or other material can affect how evenly the dye applies.
- Bond it.
When using ColorBond™ or another dye mordant, follow the recommended application and drying steps. The mordant helps the dye adhere properly and maintain clear margin identification. While ColorBond and many other mordants are applied to the tissue before the dye, this can vary by product, so always follow the manufacturer’s instructions for your specific dye and mordant.
- Apply it.
Apply enough dye to clearly mark the margin without excessive pooling or buildup. A thin, controlled layer will prevent the dye from bleeding onto other tissue margins.
- Set it.
Give the dye adequate time, typically 2-5 minutes, to allow the color to permanently bond before moving the specimen to the next step.
- Clean it.
Use a clean applicator for each color and avoid introducing tissue, fluid, or other dyes into the bottle. Do not leave the applicator in the bottle or reuse it, even with the same color. Remove the applicator after use and dispose of it properly to help prevent cross-contamination; this can quickly turn your carefully color-coded margins into a guessing game.
- Color-code it.
Establish and document a consistent color scheme for margins. Make sure the entire team follows it so that margin identification remains consistent across the grossing team.
Consistent tissue marking starts with consistent technique. A few simple handling and application habits can help improve color, coverage, and margin identification throughout the workflow.
Recent Posts
-
StatClick Prefill Handling and Closure
How to properly handle and close the StatClick Prefill for leak-proof transport. Follow your facili
-

Silver stains start here: clean glassware.
We’ve all had that glassware that looks clean—but silver stains can tell a different story. Tiny tra
-

Color Matters: 10 tips for getting the most from Tissue Marking Dyes.
Tissue Marking Dyes may seem like a simple part of the grossing workflow, but small handling habits